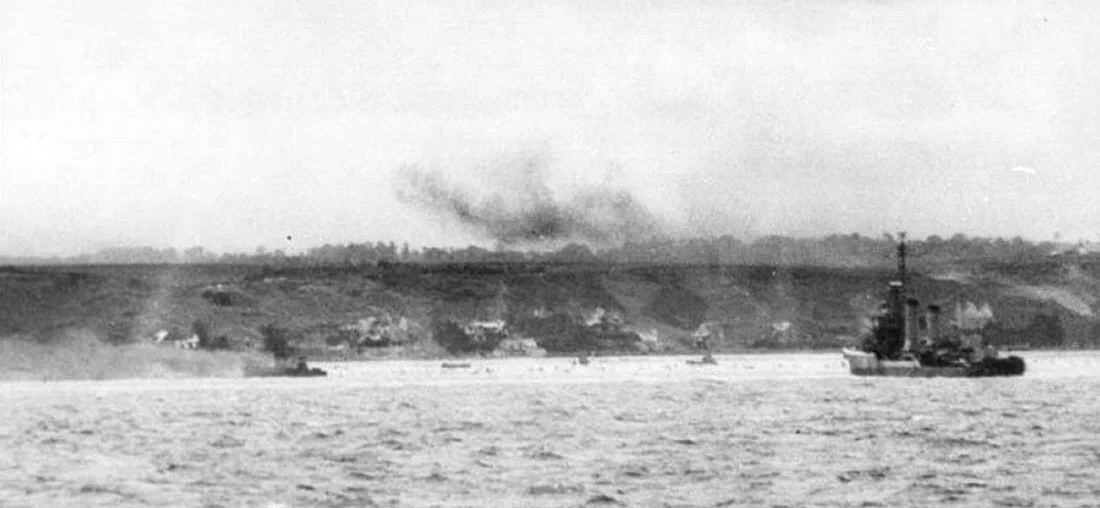
Omaha Naval Bombardment. Part IIIa: After Action Summaries
Having established that the Omaha Bombardment Groups as a whole fired only a bit more than half of the projectiles it was supposed to have used on the beach defenses, it is now time to examine the performances of the individual ships. This installment summarizes to the pre-H-Hour bombardment activities of every ship in the Omaha Bombardment Group, identifying its fire support position, targets and expenditure of ammunition against it assigned targets.
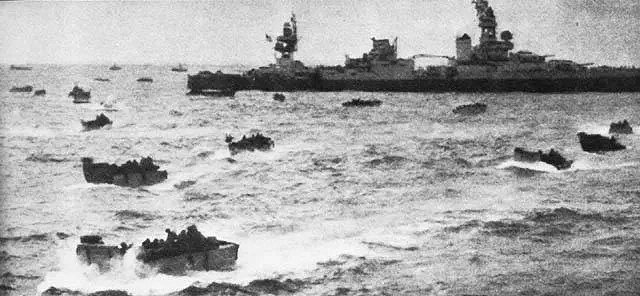
Omaha Naval Bombardment. Part II: The Plan
After much concern and many complaints about his perceived lack of naval bombardment assets, Admiral Hall (commanding the Omaha Assault Force) developed a detailed bombardment plan to make the best of what he had to work with. Published and refined in the weeks before D-Day, the plan sought to employ his limited assets in the most effective ways possible, going so far as to incorporate strategic heavy bombers and a variety of smaller, less conventional fire support assets.
This instalment examines that plan with an eye to determining how well those assets were allocated and the adequacy of the coordination and guidance contained in that order. This analysis calls into question the effectiveness of much of the plan, which left a substantial percentage of guns idle or assigned to non-essential targets during the preparatory bombardment. The plan also included factors that limited the effectiveness of the fires on the primary bombardment tasks.
Follow me on a deep dive into some of the actual factors that resulted in the failure of the Omaha bombardment mission.